Account Settings Guide
This document describes the Settings page in the Teliqon Portal and explains notification, API, balance, subscription, DID and report settings.
General information
On the Settings page, you can view and configure project notifications in the Teliqon portal. You can access this page from the left-hand side menu:
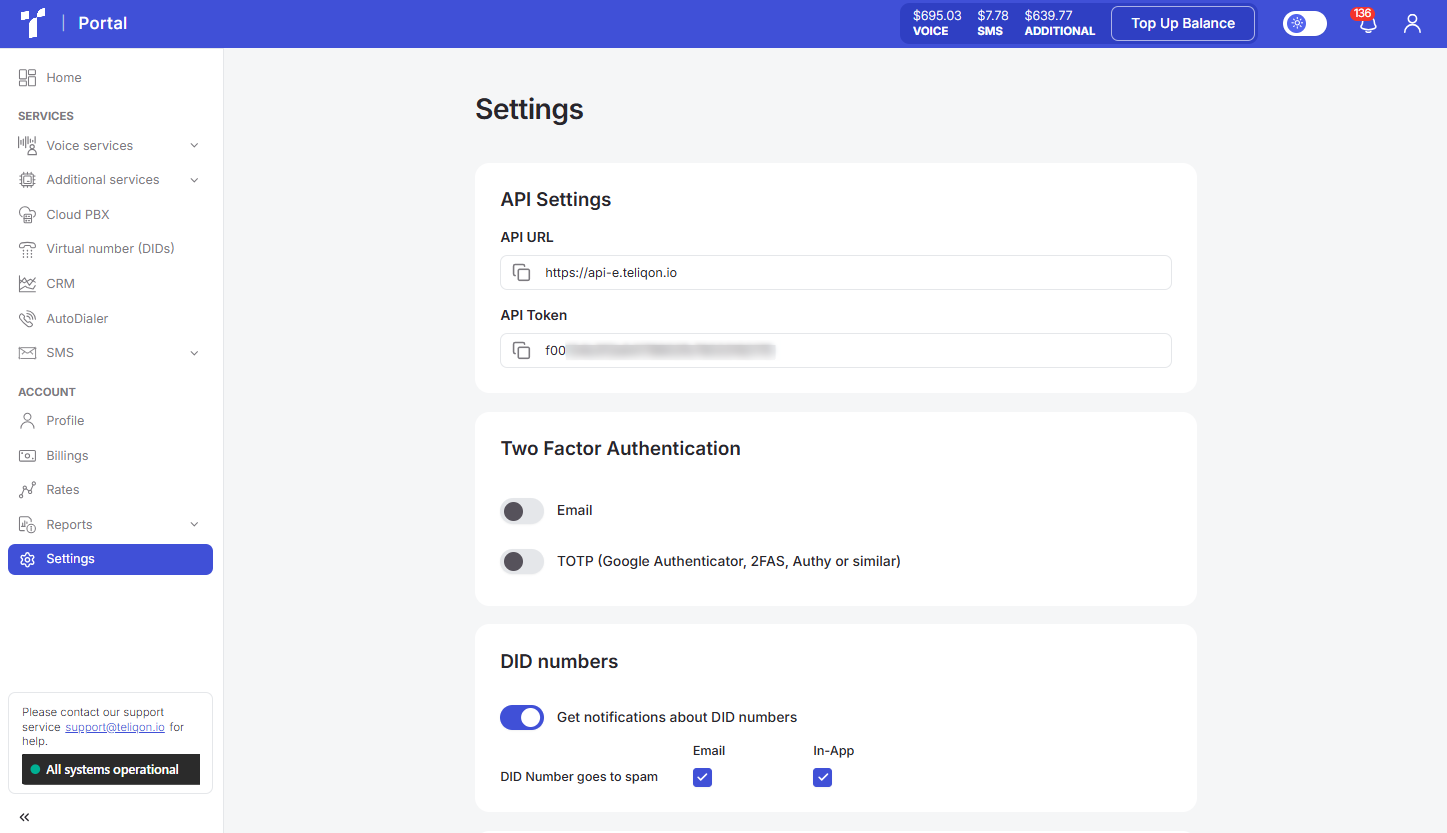
The Settings page contains the following sections:
- API Settings;
- Two Factor Authentication;
- DID numbers;
- Balance;
- Subscriptions;
- Spending reports.
API Settings
The API Settings information section is structured as follows:
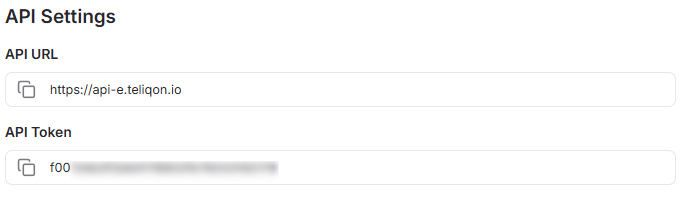
In this section, you can view and copy the URL for sending API requests, as well as the token required for further interaction with the API. Examples of such usage are provided in the SMS sending documentation.
Two Factor Authentication
The Two Factor Authentication information section is structured as follows:
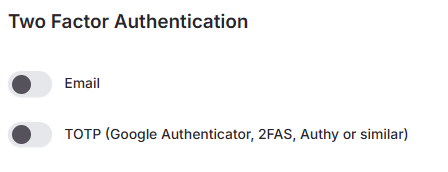
In this section, you can view and modify the two-factor authentication settings. The following configuration options are currently available:
- Email;
- TOTP (Google Authentication, 2FAS, Authy or similar). If email authentication is activated, you will receive a confirmation code via email during every login attempt. The email will be sent to the address associated with the account for which you are enabling authentication.
When enabling TOTP authentication, a pop-up window will appear containing a QR code and secret data:
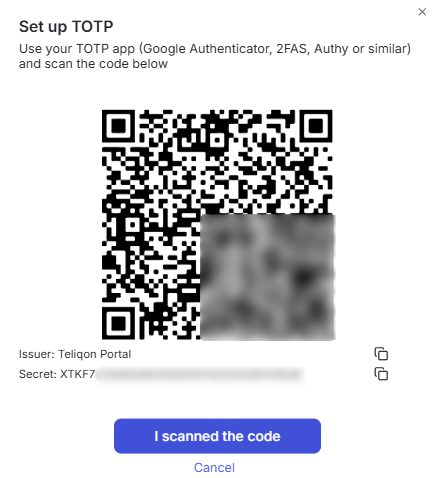
You need to open one of the supported applications, such as Google Authenticator on your smartphone, sign in with the appropriate Google account, then tap the plus icon in the bottom right corner of the screen and choose one of the two available options:
- Scan a QR code;
- Enter a setup key. If you choose to scan a QR code, a scanning window will appear. Point it at the QR code provided by the system.
Once scanned, you will receive a time-based code for your Teliqon Portal account. This code is valid for approximately 20 seconds before it automatically refreshes.
After this step, the account will be added to your list of authentication methods.
A detailed official guide on how to use Google Authenticator is also available here.
DID numbers
The DID Numbers information section is structured as follows:
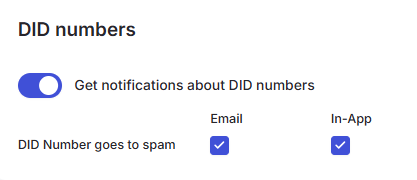
In this block, you can view and manage notification settings for events related to your DID numbers. Currently, you can set up alerts for when a number is flagged as spam. These notifications can be delivered via email or directly within the portal.
Balance
The Balance information section is structured as follows:
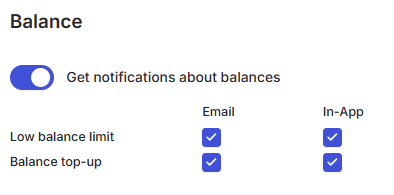
In this block, you can view and edit notification settings for events related to the project balance. Currently, settings are available for low balance levels and balance top-ups. Notifications can be received via email or directly within the portal.
Subscriptions
The Subscriptions information section is structured as follows:
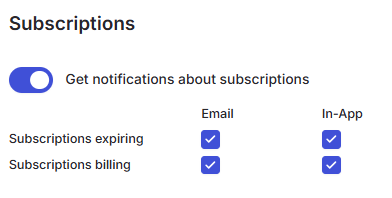
In this block, you can view and edit notification settings for events related to the project subscriptions. Currently, settings are available for events such as subscription expiration and subscription payment. Notifications can be received via email or directly within the portal.
Spending reports
The Spending reports information section is structured as follows:

In this section, you can view and modify the settings for sending reports to your email address. Currently, the available notification frequencies are “Daily”, “Weekly”, and “Monthly”. Notifications can be received via email.
The emails you receive will have the following format:
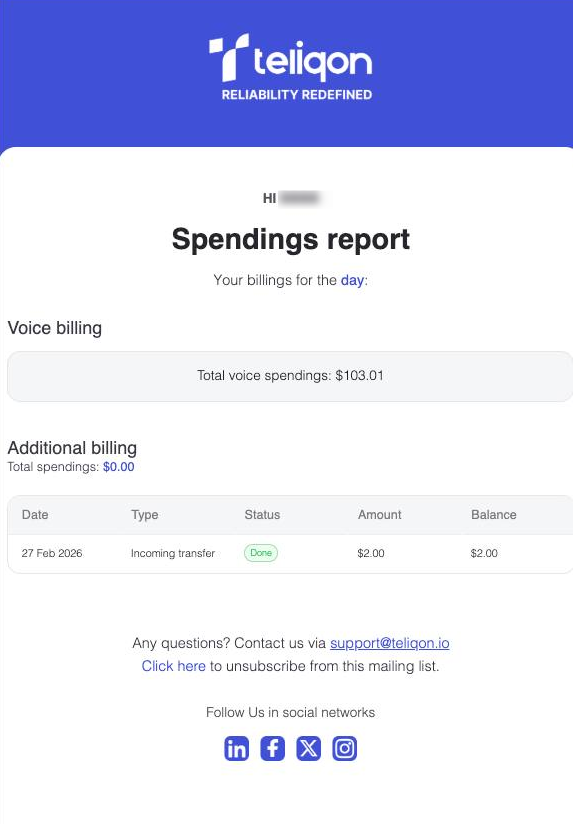
The information is organized into two tables: Additional billing shows deductions for extra services, and Voice billing tracks charges for calls.
