Price list
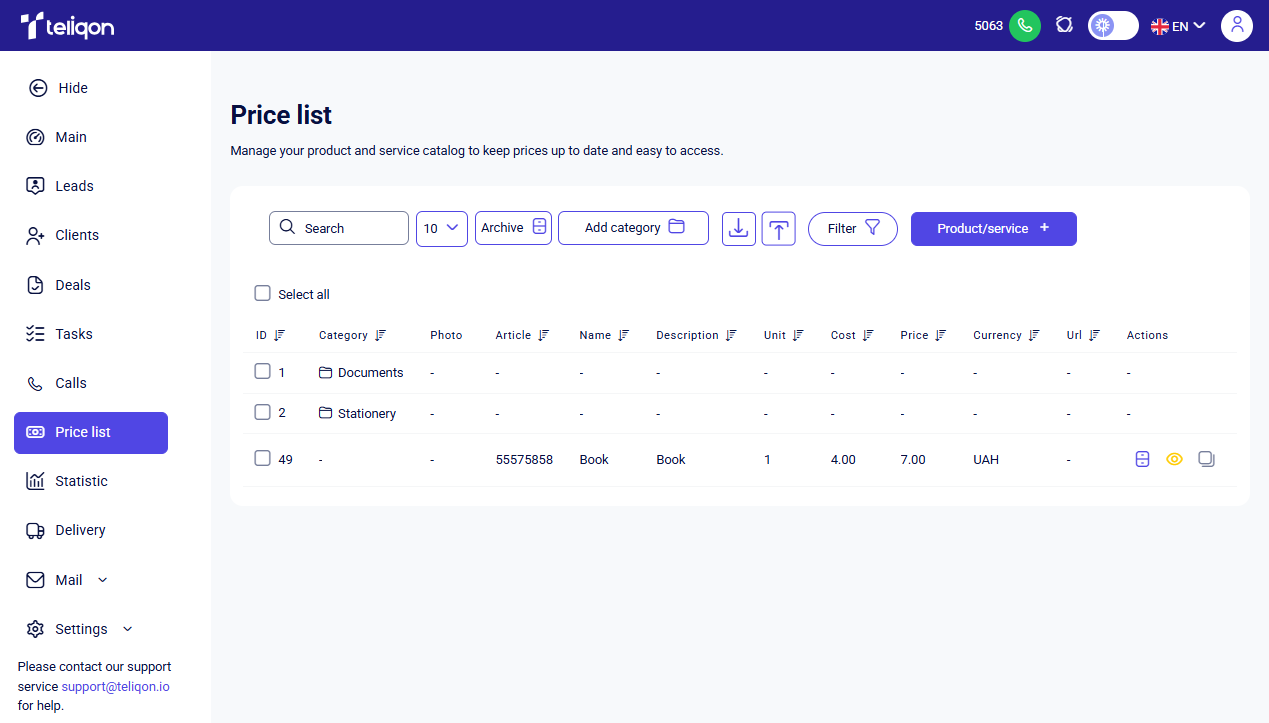
The Price List section contains all the products and services within your project. This guide explains how to manage items and categories, work with the product/service card, and use import and export tools. It also covers filters, barcodes, notes, and file opening instructions for Excel and Google Sheets.
General Information
The Price List section contains all the products and services within your project. You can add, edit, or delete items and product categories. Additionally, you can export products/services from the item list to a file or import them into the system using a file.
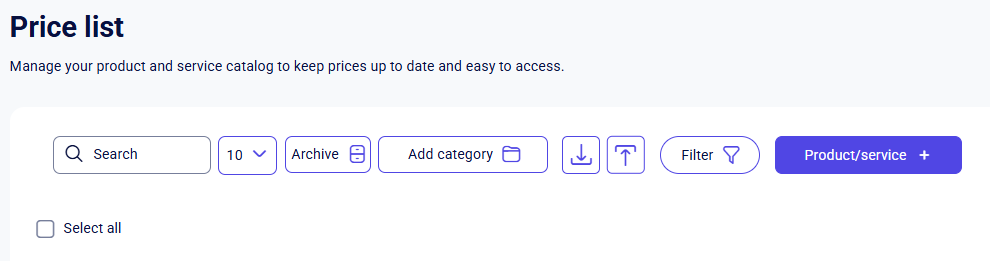
Price List toolbar
The control panel in the Price List section allows you to manage your records quickly and efficiently. The following options are available:
- The Search Bar allows you to easily find products and services by matching full or partial keywords across any field in the price list. To use it, simply click on the field and start typing - the search triggers automatically as soon as you enter the first characters.
- The button to limit the number of records displayed on the page.
It has the following options:
- 5
- 10
- 25
- 50
- 100
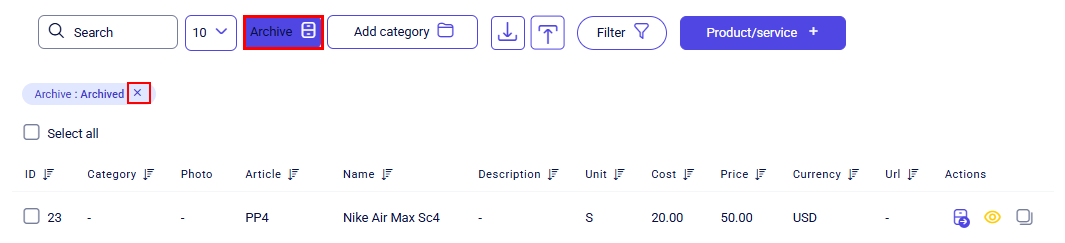
- The Archive button allows you to toggle between active and archived products or services. The first click on this button takes you to the archived items. To return to the active list, simply click the button again or click the **X **next to the newly created filter:
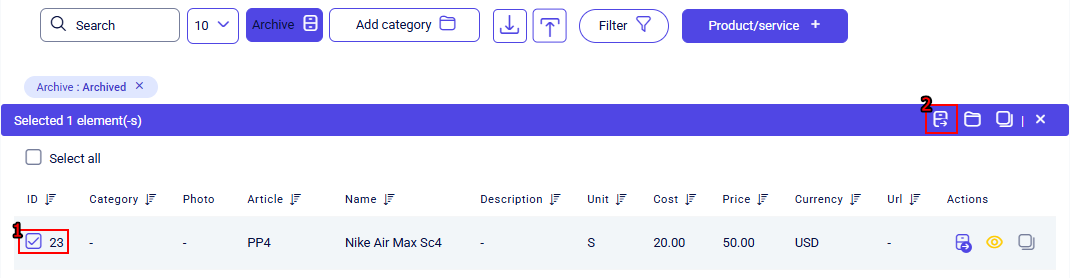
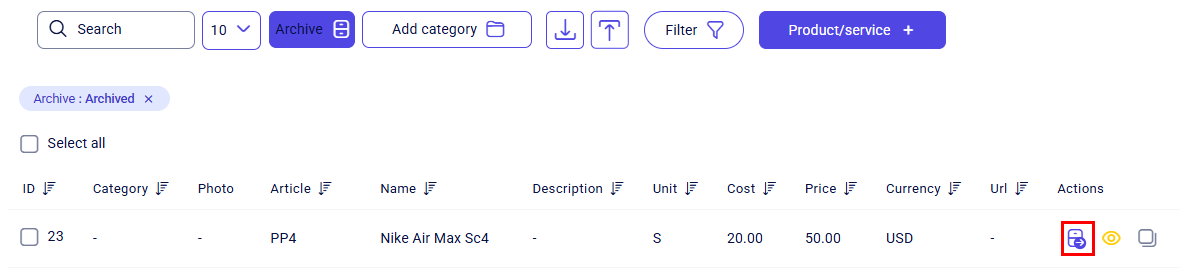
To restore a product/service from the archive to the active list, select it using the checkbox and click Unarchive on the bulk actions toolbar:
Or use the separate button next to the item in the Actions column:
- Add category button. This button is described in more detail below.
- Import data button. This button is described in more detail below.
- Export data button. This button is described in more detail below.
- The Filter button for the list of products and services, which helps you filter items using a combination of filters. This button is described in more detail below.
- The Product/service button, which allows you to add a new item to the system. This button is described in more detail below.
Product/Service list
Products and services on this page are presented as a list, where each column (except for the Photo and Actions columns) features a quick filter:
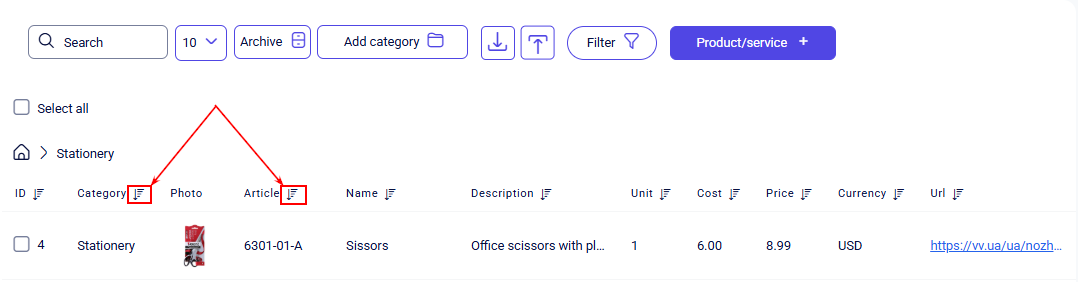
Only one quick filter can be active at a time. It has three states, which you can toggle between by clicking on the filter:
- No sorting;
- Sort descending;
- Sort ascending. Clicking a different quick filter will reset the previously selected filter to its initial state (no sorting).
Additionally, the system supports free column movement in almost every section or block. Simply click and hold the desired column with your left mouse button and move it into your preferred sequence. This allows you to instantly adapt the interface layout to suit your tasks.

On the left, there are checkboxes. Click to select one or multiple records, or click again to deselect them.
After clicking a checkbox, an additional panel will appear where you can see the number of selected items and the available actions:
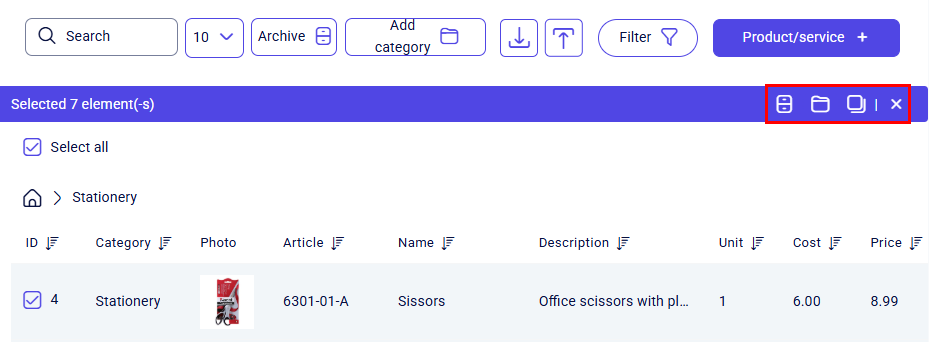
List of elements on the additional panel from left to right:
- **Archive **all selected items. This button is used to bulk-move selected products and services into the "archived" state. They will not disappear from Teliqon CRM but will simply move to the archived products/services page. Instructions on how to access the archived page can be found in this section.
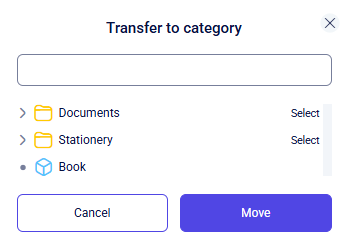
- Move to category. This button allows you to bulk-move selected products or services to a specific category.
- **Copy **products/services. This function allows you to create a duplicate of the selected items in a specified category.
- **Cancel **all items. This button allows you to cancel the selection of all items and return the checkboxes to their default state.
To the right of each product or service, there are three available actions:
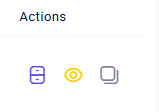
- Archive product/service. This button allows you to move a product or service from "active" to "archived" with a single click. You can view the archived items in your project using the button for archived display.
- View product/service card. Instructions on how to work with the individual item details card can be found here.
- Copy product/service link.
Viewing the product/service card
Click the **View price list card **button or click the product/service name to open the price list editing page, which looks as follows:

The product/service card page contains the following sections:
- Information about the product/service;
- Notes;
- Activity log and notes block;
- Barcodes. To return to the previous page with the list of products/services, click on the Price list section again:
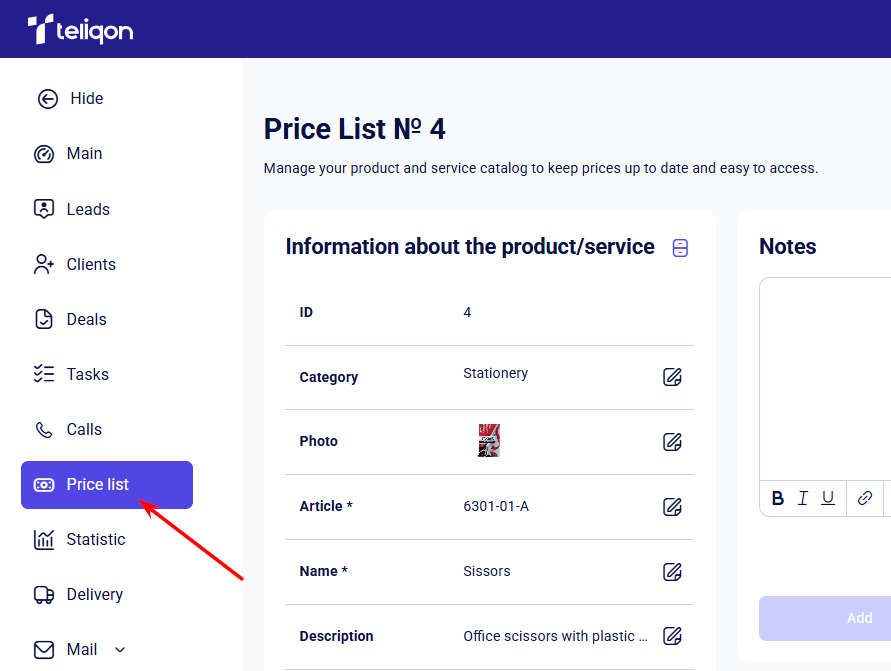
Information about the product/service
In addition to the editable parameters, there is an **Archive **button at the top of this block.

When clicked, the product/service becomes "archived" and will only be displayed on the archived product/service page. Clicking it again will unarchive the product/service and return it to active work.
Below are the price list parameters. They consist of default parameters and your additional custom-configured parameters. Parameters are configured in the Settings → Price list section. The following are considered default system parameters:
- ID;
- Category;
- Photo;
- Article *;
- Name *;
- Description;
- Unit *;
- Cost *;
- Price *;
- Currency *;
- Url. You can modify any system or custom parameters except for ID. To update a parameter, click the Edit icon to the right of the selected field. For example:
Next, click on the desired field and make your changes. Once editing is complete, scroll to the bottom of the section and click Save to apply the updates or Cancel to discard them.
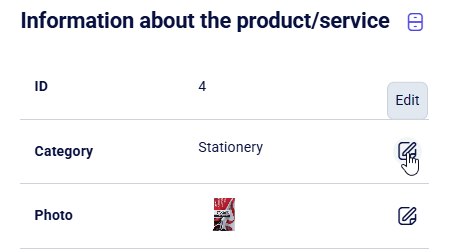
Notes
The note creation field allows for text input of up to 500 characters. To format your note, you can use the tools provided on the bottom toolbar:
List of tools from left to right:
- Bold text;
- Italic text;
- Underlined text;
- Insert a link.
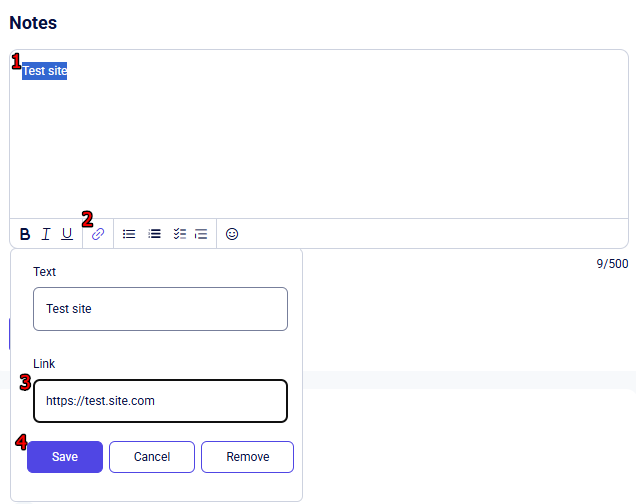
To do this, enter your text, highlight it with your cursor by holding down the left mouse button, and click the Link button.
A pop-up window will appear where you should enter the URL in the format "https://test.site.com".
Then, click Save if you have entered the correct link, Cancel or Delete if you change your mind.
- Format text as a List view;
- Format text as an Ordered List;
- Format text as a Task List;
- Format text as a Blockquote;
- Add an Emoji. Additionally, you can attach a file to your note. To do this, click the "paperclip" icon to the right of the Add button. In the window that opens, select the required document from your device.

After creating your note, click Add to save it.
Activity Log and Notes
In this block, there are two tabs that allow you to view:
- Activity log. You can track changes made to the product/service by managers. For example: manually filling in a parameter.
- Added Notes. All notes attached to the price list.
Barcodes
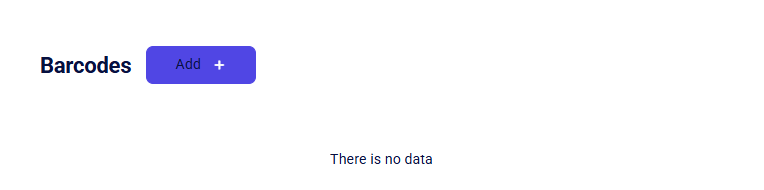
You can generate a barcode for each item in the corresponding Barcode block. This block contains a single Add+ button:
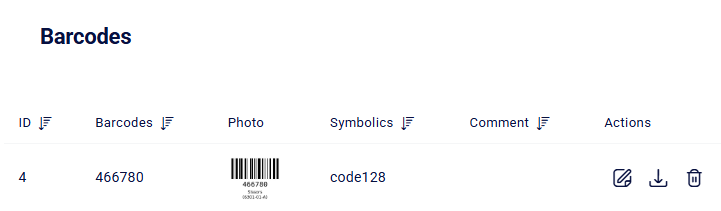
After adding the barcode, the block view will be updated and displayed as follows:
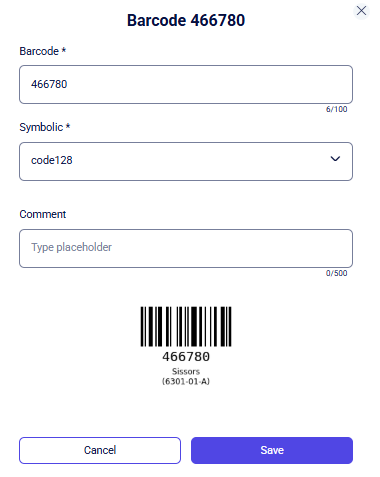
Use the **Add+ **button to proceed to the barcode creation window:

To create a new barcode, fill in the following fields:
- Barcode * - this field automatically inherits the value from the Article field, but it is available for manual editing if needed.
- Symbolic *;
- Comment. In the Barcode * field, enter the characters manually, taking into account the selected symbology type. The Comment field can be left blank - it is not mandatory. Once you have finished editing, click Save to update the data. The Cancel button allows you to exit without saving changes. To the right of the already created barcodes, there are three actions:
- Edit barcode;
- Download barcode (in pdf format);
- Remove barcode. Editing a barcode will open the following window:
You can edit the following settings for the current barcode:
- Barcode *;
- Symbolic *;
- Comment. In the Barcode * field, enter the characters manually, taking into account the selected symbology type. The Comment field can be left blank - it is not mandatory. Once you have finished editing, click Save to update the data. The Cancel button allows you to exit without saving changes.
Add product/service
To add a product or service, click the Product/service + button. Next, fill in the required parameters in the window that opens:
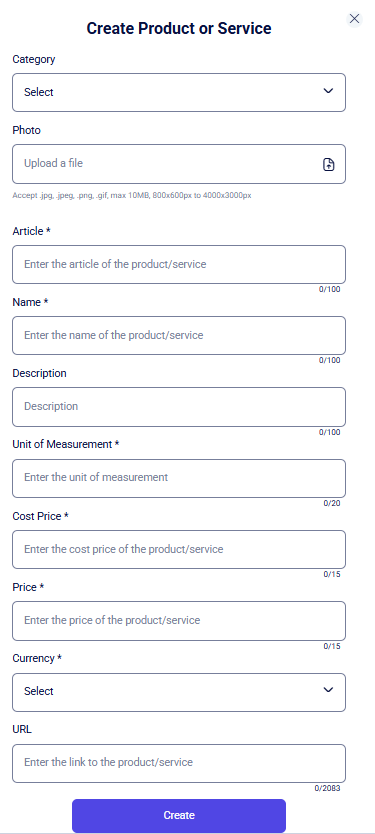
The product card consists of the following fields. Mandatory fields are marked with an asterisk (*):
- Category - if you want to add a product or service directly to a specific category, select it from the dropdown list. If no category is selected, the product will be added to the section in "no category" format.
- Photo - upload a photo for the product or service from your PC to this field. (Accepted formats: .jpg, .jpeg, .png, .gif; maximum size: 10MB; from 800x600px to 4000x3000px).
- Article * - specify a unique identifier for the product or service. This can be either a standard article number or a symbolic designation that helps distinguish similar items in the system.
- Name * - enter the name of your product or service in this field.
- Description - optionally, add a detailed description of the product or service.
- Unit of Measurement * - in this field, specify the unit of measurement for your product or service.
- Cost Price * - in this field, add the cost price of the product or service you offer.
- Price * - in this field, specify the selling price of the product or service you offer.
- Currency * - select from the dropdown list the currency in which the sale of this product or service will be carried out.
- URL - in this field, provide a link to the product/service page (http, https, www formats are supported). This field is optional. After filling in these fields, click the Create button.
Add category
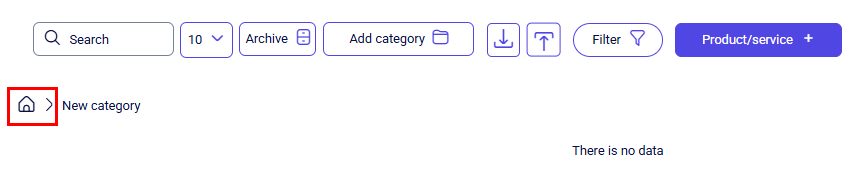
To add a category, click the Add category button. A field for configuring the new category will automatically appear first in the list..

Enter the category name and click the checkmark icon to save it in the system. To cancel the category creation, click the cross icon next to the input field. Once the new category is created, you can open it simply by clicking on its name. To return to the previous screen with the list of categories and products, click the Home button:
To manage categories or products, use the bulk operations menu. It appears above the general list after you select the required items using checkboxes.
Filter
The filter button opens a pop-up window allowing you to filter the price list using the following default settings:
- by Currency;
- by Cost;
- by Price.
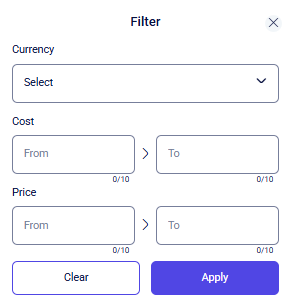
Once the filtering parameters are selected, click Apply. To reset all filters, click Clear. Click the X icon in the top right corner to close the pop-up window.
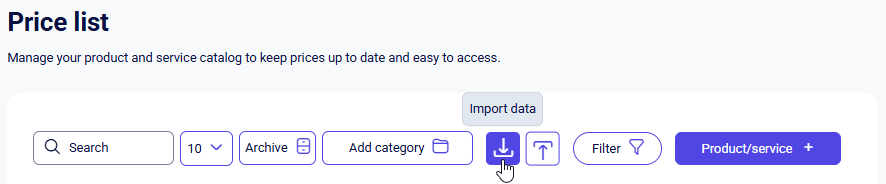
Import button
To upload a price list to the Teliqon portal, use the Import data button to the left of the Export data button.
In the window that appears, you can configure the upload parameters:
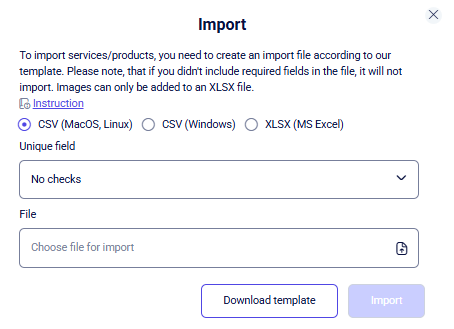
You can follow the guide by clicking the Instruction link There are 2 formats available for selection: csv and xlsx. Depending on your operating system, click one of the three checkboxes:
- CSV (MacOS, Linux);
- CSV (Windows);
- XLSX (MS Excel).
Next, choose one of the 4 following unique fields:
- No checks;
- Id;
- Name;
- Article.
To prepare your data, click the Download template to create a file. Enter your information following the guide's tips and save the changes to the file.
Please note: The ID parameter in the import file is set manually. It is recommended to check the highest existing ID in the system via filters and continue the numbering in your file (increment by 1). If a duplicate ID is detected, the system will skip that specific record and continue uploading the remaining data.
To upload your data, click the File field in the import window. Locate the file you prepared using the template in your computer's explorer and confirm your choice.
After completing the import configuration, press the Import button. The data will be processed and added to the system, becoming visible in the general list.
To cancel the import, click the **X **in the top right corner of the window to go back to the product/service management menu.
The downloaded .csv product/service template follows this structure:
- id - the ID of the product/service;
- createdAt - the creation date of the product/service;
- name - the name of the product/service;
- article - the unique identification code of the product/service (used to designate a specific item in the company's assortment);
- description - a description of the entity;
- unit - the unit of measurement for the product/service;
- cost - the cost price of the product/service;
- price - the price of the product/service;
- url - a link to the product/service;
- barcode - the barcode of the product/service;
- barcodeFormat - the barcode format of the product/service;
- barcodeComment - a comment for the product/service barcode;
- category - the category of the product/service;
- currency - the currency of the product/service;
- It also includes any additional fields you have configured in the settings.
The template includes a data entry example to help you prepare the file correctly. Please note the importance of following the structure and formats: for instance, the date in the createdAt column should follow the format 2025-03-12 21:24:07.
Export button
To export items from the price list, click the Export data button.

The following pop-up window will then be displayed:
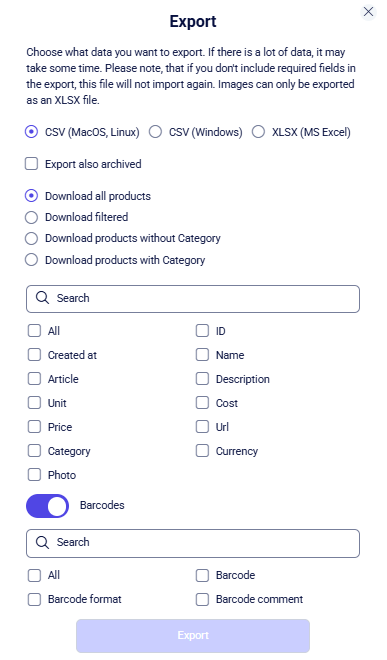
In the export pop-up window, you can configure the following conditions for exporting products/services:
- Export format. There are 2 formats available for selection: csv and xlsx.
Depending on your operating system, click one of the three checkboxes:
- CSV (MacOS, Linux);
- CSV (Windows);
- XLSX (MS Excel).
- Option to include or exclude archived entities;
- Export all items or only those currently filtered;
- Define the list of product/service fields for the generated file;
- Toggle the barcode download option on or off;
- Choose which barcode-related fields to include in the file.
To easily locate the required export fields, use the search bar. It filters results based on full or partial matches of the keywords you type. Once the settings are configured, click Export. The system will download the product/service list to your device according to your preferences. To exit and return to the price list menu, click the X in the top right corner.
How to open the file in different applications
Excel To open the received .csv file on your computer using Excel, follow these steps:
- Open Excel (any version).
- Click File → Open.
- Select Browse and locate the recently downloaded CSV file.
- In the file selection window, change the file type to All Files if the CSV is not visible.
- Select the file and click Open. If the data is displayed incorrectly (for example, the text is not separated into columns):
- Go to the Data tab → Text to Columns.
- Select the delimiter (usually Comma or Semicolon).
- Click Finish. Google Sheets If Excel is unavailable, Google Sheets is a great online alternative. Learn more at the official website: https://workspace.google.com/products/sheets/. To open your .csv file:
- Open Google Sheets and go to File → Import.
- Select the Upload tab and choose your file.
- Choose your preferred import location (e.g., Create new spreadsheet).
- Confirm by clicking Import data.
Calls
This guide explains how to view, filter, and manage call records in the Teliqon CRM system. It describes the Calls page interface, including the toolbar, quick filters, call playback, and bulk actions. The document also explains how to create leads or deals directly from call records.
Statistic
Statistic documentation. This file was converted from DOCX to MDX with extracted screenshots. Review headings, lists, links, images, and formatting against the source document before publishing. The page describes dashboards, filters, calendar controls, and performance analytics available in the CRM.
