Activity Log
This document explains how to use the Activity Log section in Teliqon CRM to review project activity, filter records, manage pagination, and export log data. It covers activity categories, manager and period filters, record display settings, and export configuration.
General information
The Activity Log section stores a complete history of activities occurring within your project.
On this page, you can:
-
View a list of all actions related to entities and settings;
-
Filter records by specific tabs (Leads, Clients, Deals, Tasks, etc.);
-
Sort activity history by a specific manager or selected time period;
-
Customize the number of records displayed per page;
-
Export log data to your device.
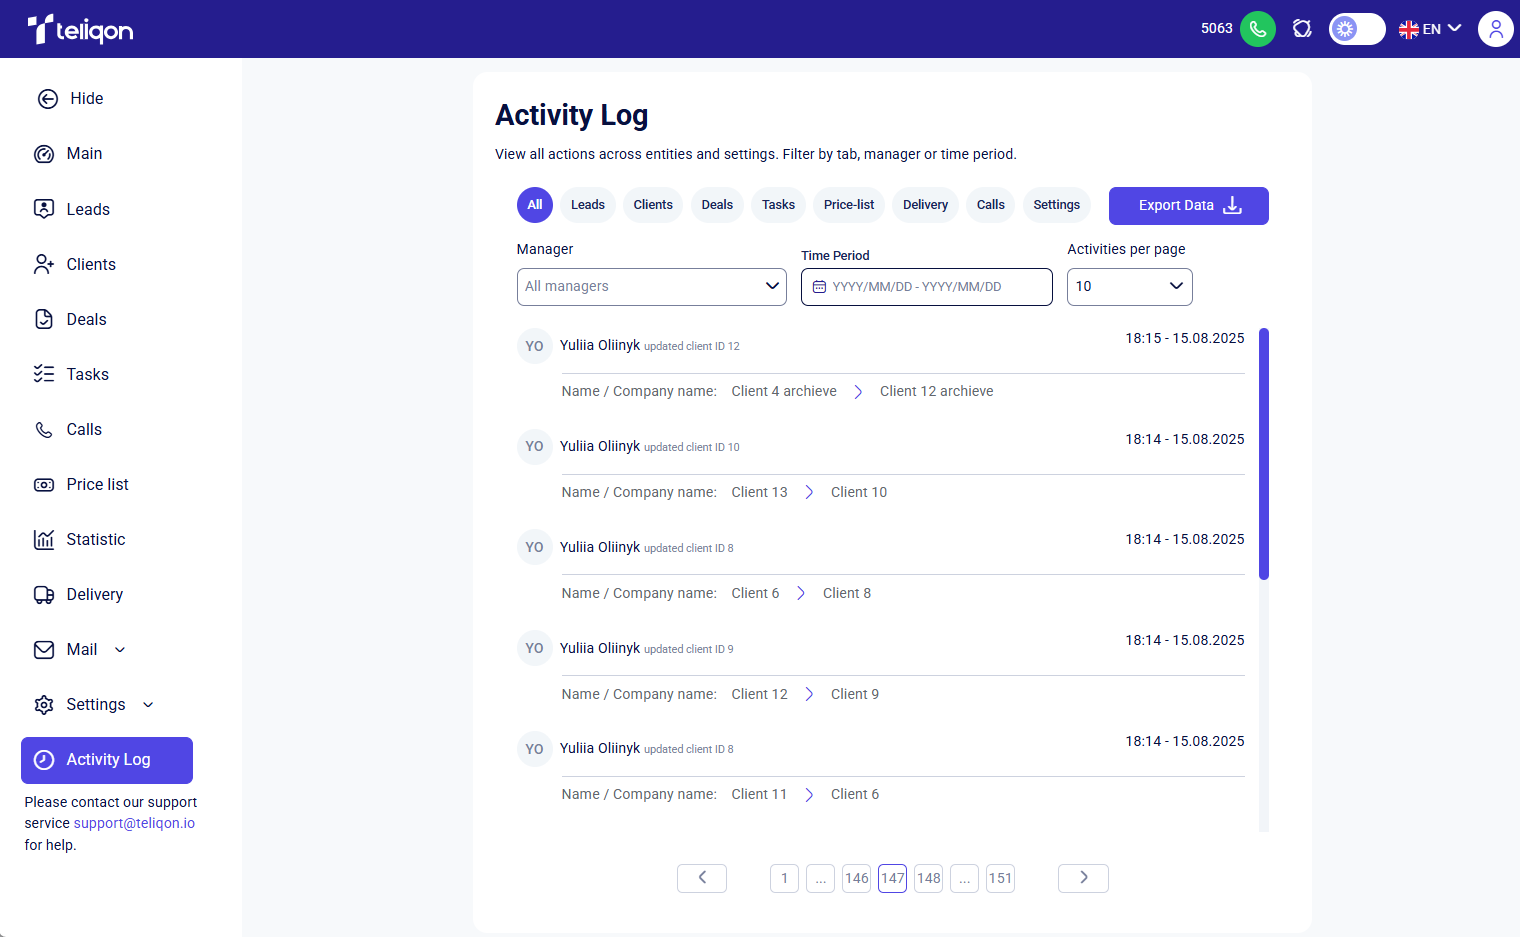
Activity Log Overview and Management
Activity Categories
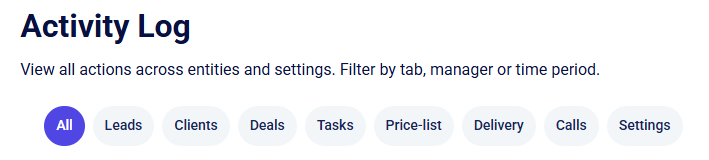
At the top of the panel, there are tabs that allow you to filter the log by a specific system section with a single click:
-
All. This tab opens by default. It displays a general feed of all events (creation, updates, archiving, etc.) across the entire CRM system.
-
Leads . This tab displays the history of your interactions with potential clients: you can track card updates, edits to contact information (e.g., email addresses), etc .
-
Clients . In this tab, you can track all actions within your client database, including client profile updates, records of lead-to-client conversions, etc .
-
Deals . Here you can view the history of changes in your sales: editing deal parameters, moving them to the archive, unarchiving them, etc .
-
Tasks . This tab allows you to track the complete workflow of assignments: creating tasks, changing statuses or assignees, managing archived tasks, etc .
-
Price list. This section displays all catalog management actions: changing product categories, archiving items, adding or removing barcodes, etc .
-
Delivery . In this tab, you can monitor logistics: track the creation, addition, or removal of waybills (TTN) linked to leads, clients, or deals, etc .
-
Calls . This is your telephony log: you can view call types (internal, incoming, outgoing, missed), their statuses, call durations, etc .
-
Settings . In this tab, you can track global system changes: find out who edited deal stages, task statuses, or other core CRM settings and when, etc .
When you click on one of the tabs, the information in the main window will be filtered according to your selection. Here, you can see detailed information about who exactly made changes to the entity and what those changes were.
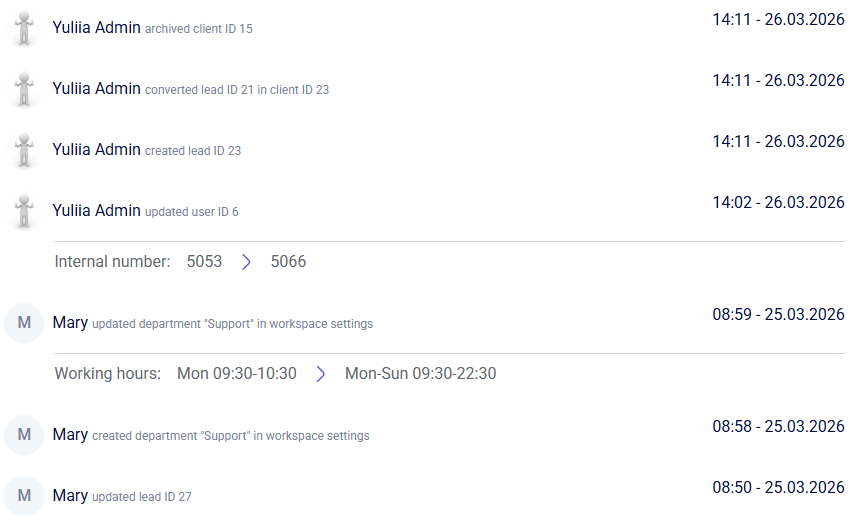
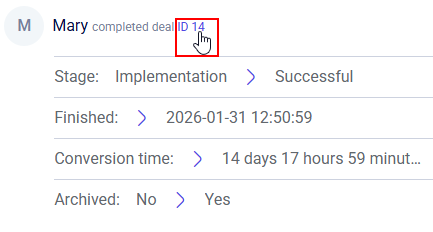
Additionally, you can quickly navigate to the modified entity for further analysis. Clicking on the entity ID (or the setting name within the "Settings" tab) will automatically redirect you to the corresponding page.
Filter Panel
For efficient data retrieval, you can apply the following filters:
- Manager. This filter allows you to select one or more employees to view their specific activity history. Clicking the field opens a dropdown list where you can choose the required managers:
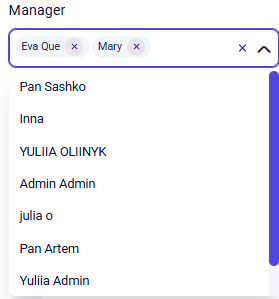
The filter updates instantly once an employee is chosen. To deselect a manager, click the X icon adjacent to their name. To fully reset the filter, click the X icon located at the right end of the field or manually delete each selected user.
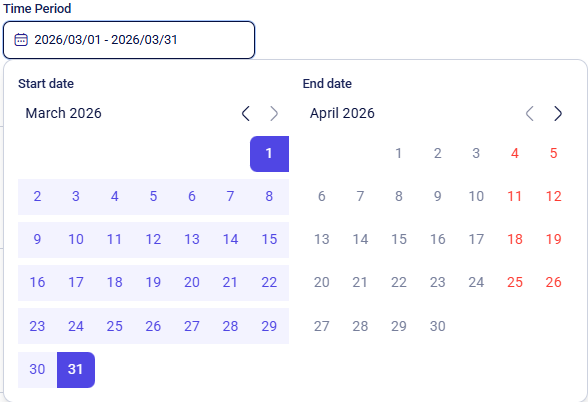
- Period. This filter allows you to set the timeframe for viewing the activity history. Clicking the field opens a calendar window: select the start date with your first click and the end date with your second. For easy navigation between months, use the arrow icons (< and >) located at the top of the calendar next to the month's name.
After selecting your dates, clicking outside the calendar window closes it and instantly updates the activity history for that period.
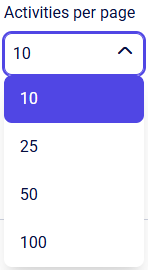
- Records per page. This dropdown menu allows you to configure pagination - specifically, the number of entries (events) displayed on a single page of the log. Clicking the field opens a list of available options: 10, 25, 50, or 100 records.
Export Data
The system allows you to extract data from the Activity Log into a convenient format.
To export your activity history, click the Export Data button. A pop-up window will then appear:
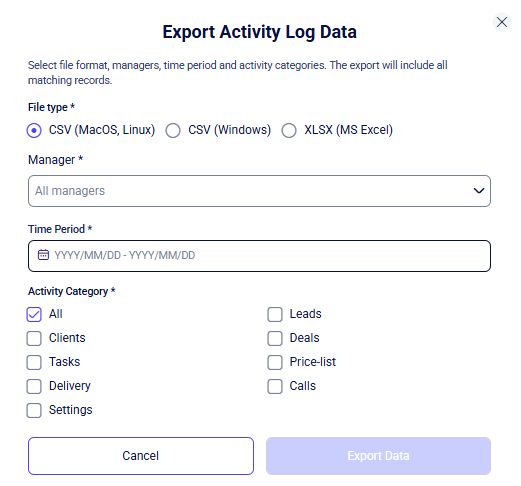
In the export pop-up window, you can configure the following conditions for downloading information:
-
Export format. Depending on your operating system or preferences, choose one of the three options (checkboxes): CSV (MacOS, Linux), CSV (Windows), or XLSX (MS Excel).
-
Manager. Select one or more managers from the dropdown list whose activity you need to export. Click anywhere on the screen to apply your selection.
-
Period. Use the calendar to set the time period for the data export, then click on any empty area to confirm.
-
Activity Category. Mark the checkboxes for the log categories (Leads, Clients, Deals, etc.) that should be included in the export.
Once you have configured all parameters, click the Export Data button. The system will automatically download a file to your computer in the selected format, containing all relevant records.
If you decide not to proceed with the export, click the Cancel button or the X icon in the top right corner of the window.


