Calls
This guide explains how to view, filter, and manage call records in the Teliqon CRM system. It describes the Calls page interface, including the toolbar, quick filters, call playback, and bulk actions. The document also explains how to create leads or deals directly from call records.
General Information
This section contains information about the calls within your Teliqon CRM project.
On this page, you can:
-
View calls as a list;
-
Search for calls by full or partial matches in any field using the search bar;
-
Sort calls by status (Incoming, Outgoing, Missed) or filter them by any field;
-
Listen to calls directly on the page;
-
Download selected calls as an archive with MP3 files.
To access this page and view call information, click on the Calls section in the left sidebar menu.
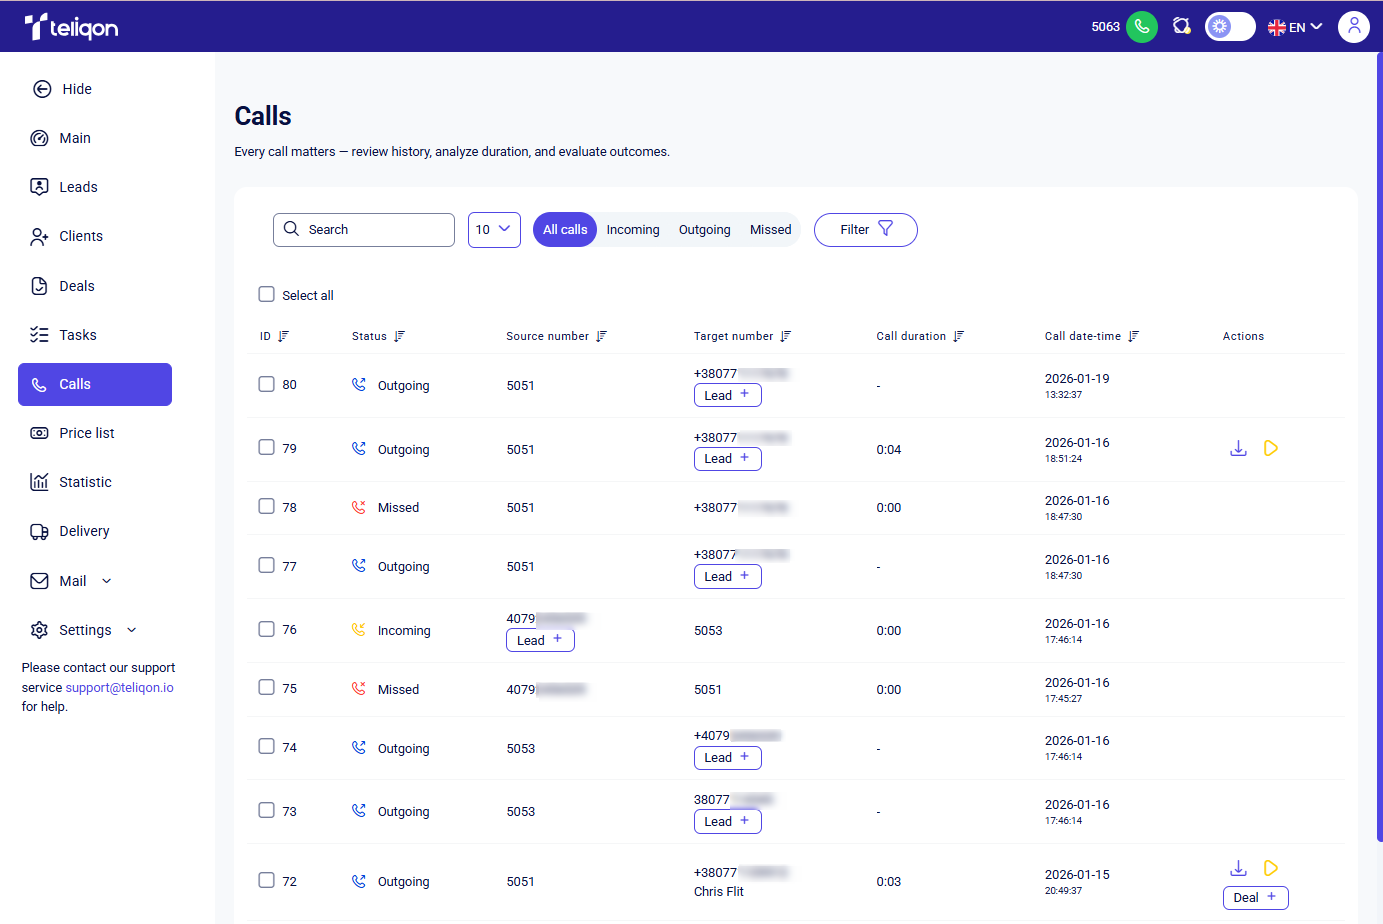
Call overview and management
Call toolbar
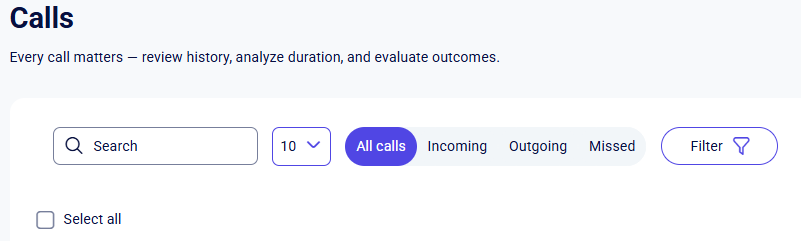
The toolbar on the Calls page allows you to perform actions on your calls quickly and efficiently.
The following options are available on the toolbar:
-
Search bar provides a convenient way to search for calls by full or partial matches in any field. To use it, simply click on the bar and start typing - the search begins automatically as soon as you enter the first characters;
-
Entries per page toggle, which allows you to limit the number of records displayed on the page
. Options include:
a. 5;
b. 10;
c. 25;
d. 50;
e. 100.
-
Call type toggle. Use this button to filter the list of calls on the page by type. It includes four options: All calls, Incoming, Outgoing, and Missed;
-
Filter button for the Calls page, which allows you to filter calls by combining various field criteria;
-
Select all button, which allows you to select all records on the page with a single click. Clicking this button for the first time checks all empty boxes (checkbox) on the page. Clicking it again deselects all checkboxes.
Call list
Calls on this page are displayed as a list, where each column features a quick filter:
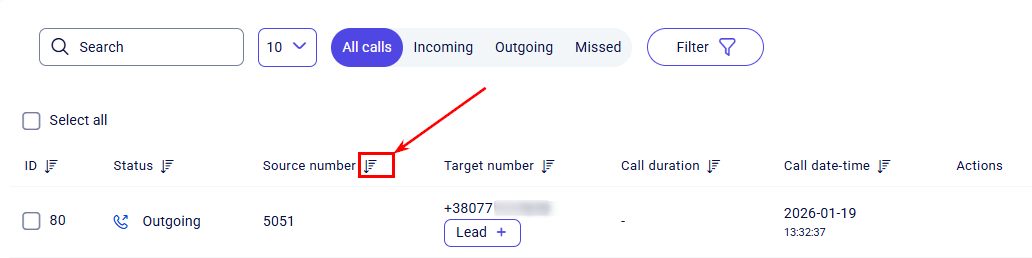
Only one quick filter can be active at a time.You can cycle through its three available states by simply clicking on the filter:
-
No sorting;
-
Sort descending;
-
Sort ascending.
Clicking a different quick filter will reset the previously selected one to its initial state (No sorting).
To the left of the records, there is an empty square (checkbox). Click it to select a specific item, or click it again to deselect. Once a checkbox is selected, an additional panel appears, showing the number of selected items and the available actions:
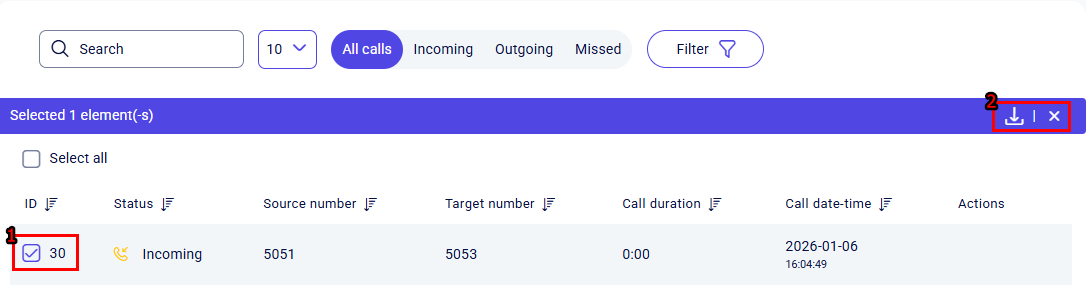
-
"Send call recordings via email". After clicking this button, a download link for the recordings will be sent to your email;
-
Cancel bulk selection.
After selecting the Send call recordings via email option, the system will send a message with a download link for the archive to the email address specified in your Teliqon CRM profile.
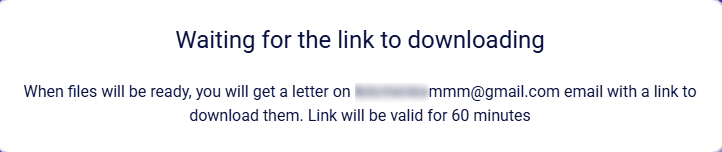
The archive will be available for download for 60 minutes. After that, you will need to repeat the process. The email will look like this:
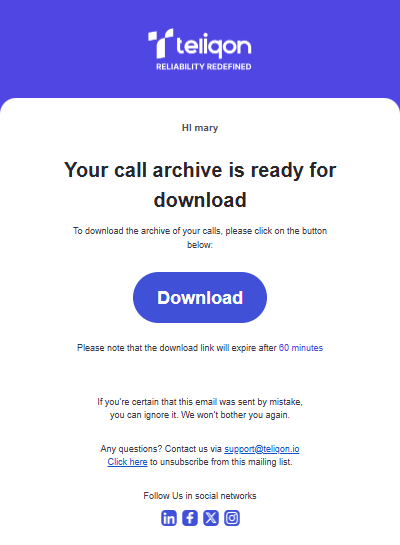
After downloading the .zip archive to your computer, extract it using your operating system's built-in tools or a third-party utility. Inside, you will find the call recordings in .mp3 format.
You can also download or listen to call recordings directly using the corresponding buttons in the Actions column:

The downloaded audio files are provided in .wav format.
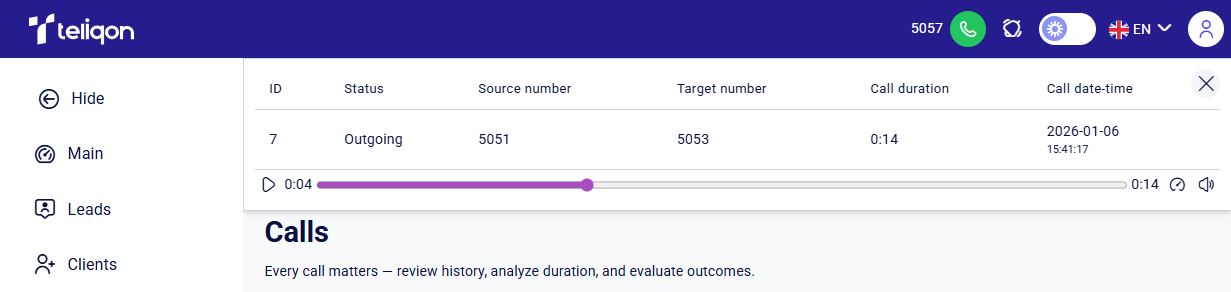
When you play a recording, an additional player will open on the page. It allows you to adjust the volume, pause the playback, and scrub through the recording to any specific point:
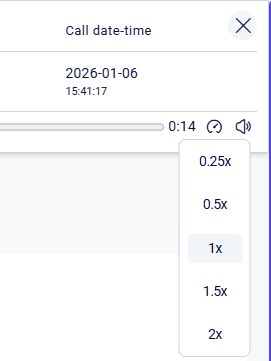
Additionally, you can adjust both the playback speed and the volume:
The Source number, Target number, and Actions columns contain two buttons: Lead+ and Deal+:
-
The Lead+ button is displayed for calls from new callers who don't have a record in the system yet.
-
The Deal+ button appears only when a client card has already been created for the contact, but there is no associated deal.

Create a lead
Clicking Lead + will open a window to enter the details for a new lead. Required fields are marked with an asterisk (*).
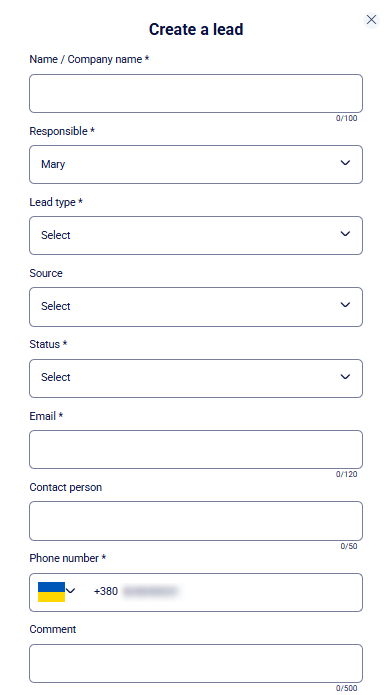
Required fields for leads include:
-
Name / Company Name *,
-
Responsible*,
-
Lead Type *,
-
Status *,
-
Email *,
-
Phone Number *.
The following fields are optional when creating a lead:
-
Source;
-
Contact person;
-
Comment;
-
Nova Poshta city;
-
Nova Poshta department type;
-
Nova Poshta department.
Fields are configured in the Settings → Leads {section} and are divided into two types based on how they are filled:
-
fields with a dropdown list of values;
-
fields requiring manual text entry.
After completing the lead creation form, click the Create button at the bottom to save. To cancel, simply click the X icon in the top corner of the window.
Create deal
Selecting the Deal + button next to a new contact opens a pop-up window for entering deal details. Required fields are marked with an asterisk (*).
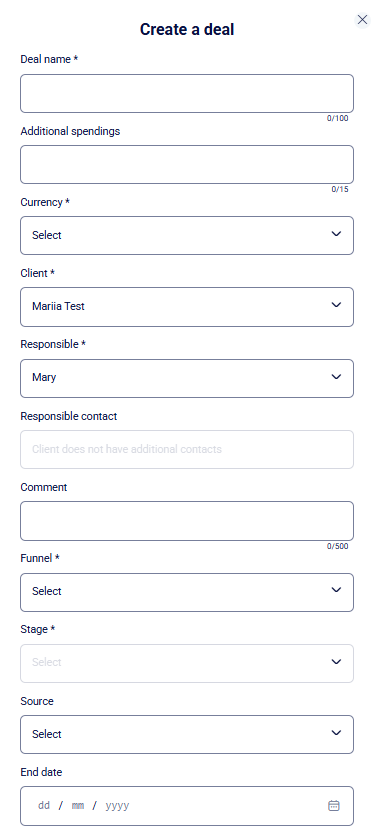
Required fields for deals include:
-
Deal Name *,
-
Currency *,
-
Client *,
-
Responsible *,
-
Funnel *,
-
Stage *.
The following fields are optional when creating a deal:
-
Additional spendings;
-
Responsible contact;
-
Comment;
-
Source;
-
End date;
-
Product/service.
This field allows you to link products or services selected by the client to the deal. You can manage your list of services and products in the {Price List} section. If you have product/service configured, you can link them to the deal by clicking the plus (+) icon in the corresponding field:

Then, select the required product/service by checking the box next to the item (1) and confirm your selection by clicking Save selected products (2).
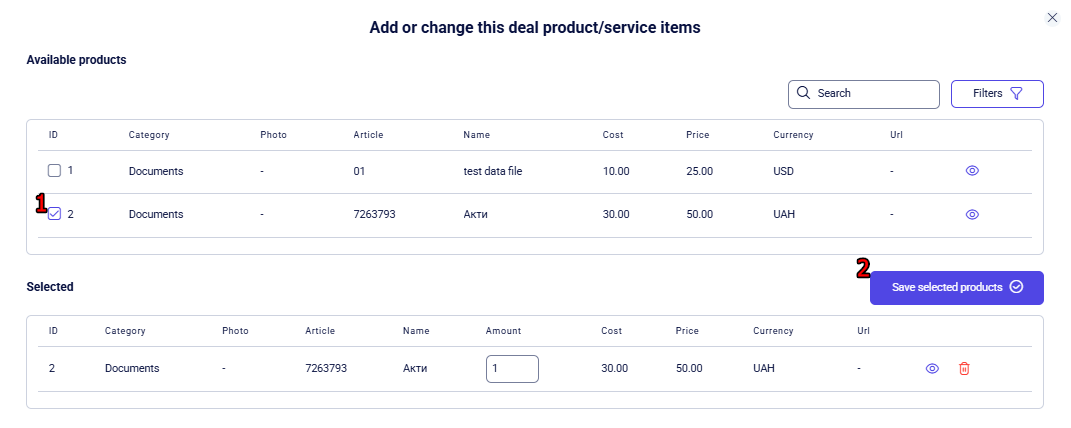
If the client has ordered multiple items, you can specify the amount in the Amount field within the Selected window. This field can be filled in manually using your keyboard or by clicking the up/down arrows.
Fields are configured in the Settings → Deals section and are categorized into three types based on how they are filled:
-
fields with a dropdown list of values;
-
fields requiring manual text entry;
-
object selection fields for adding products or services via the "+" button.
After completing the deal creation form, click the Create button at the bottom to save. To cancel, simply click the X icon in the top corner of the window.
Call Filters
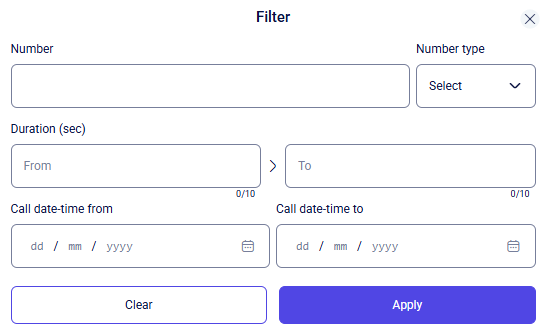
After clicking the filter button, a settings window will appear. The following filtering criteria are available by default:
-
Number - allows you to find records by full or partial digit match. Enter the full phone number or a part of it.
-
Number type - select the call direction you are interested in: inbound (the number called), outbound (the number that placed the call), or search across all types simultaneously.
-
Duration - specify the conversation length in seconds. Values can be entered manually using the keyboard or adjusted using the toggle arrows.
-
Call date-time - set the time range manually (in DD/MM/YYYY format, e.g., 15/06/2024) or select the required date using the built-in calendar.
Once you have selected the desired filtering parameters and want to apply the changes, click the Apply button.
If you want to clear the fields and return them to their default state, click the Clear button.
To close the filtering window, click the X in the upper right corner.
Tasks
Tasks documentation. This file was converted from DOCX to MDX with extracted screenshots. Review headings, lists, links, images, and formatting against the source document before publishing.
Price list
The Price List section contains all the products and services within your project. This guide explains how to manage items and categories, work with the product/service card, and use import and export tools. It also covers filters, barcodes, notes, and file opening instructions for Excel and Google Sheets.
