Settings
This document describes the Settings section in the Teliqon Autodialer software and explains how to configure account, campaign, lead, and work time parameters. It covers personal information, security, campaign defaults, lead statuses, and pause types used by agents.
General information
In this section, you can configure various parameters of entities and modules within the Teliqon Autodialer software.
To view the complete list of Teliqon Autodialer software elements for which you can modify settings, click the “Settings” tab:
The section consists of four separate pages:
-
Account;
-
Campaigns;
-
Leads;
-
Work hours.
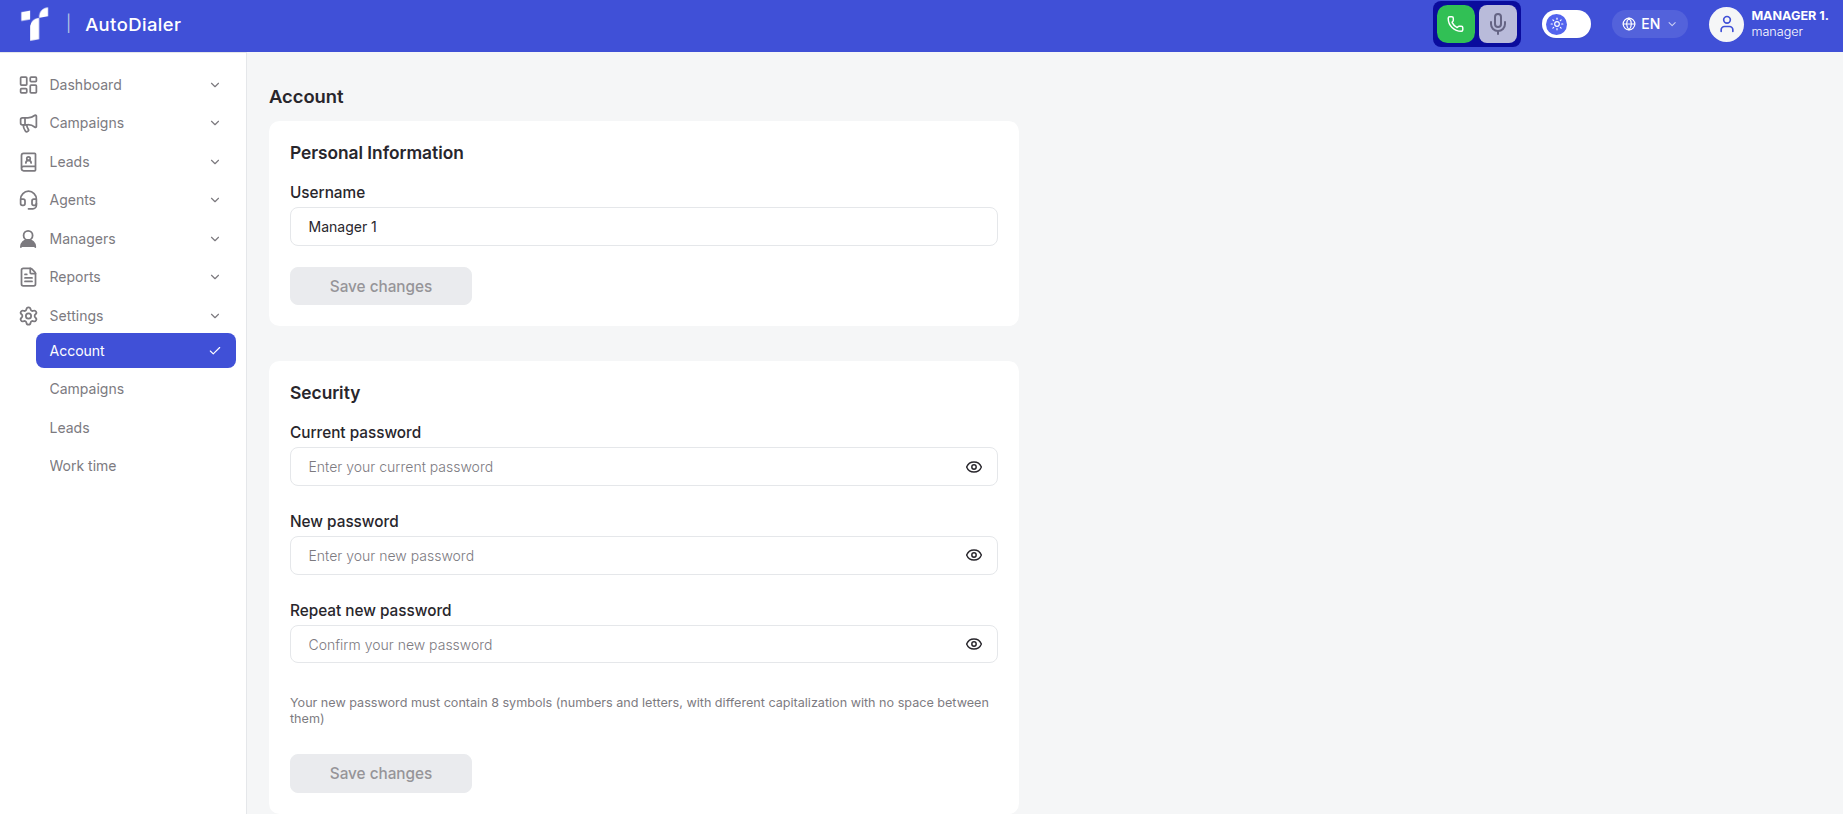
Account management
The Account Management page contains the following sections:
-
Personal Information;
-
Security.
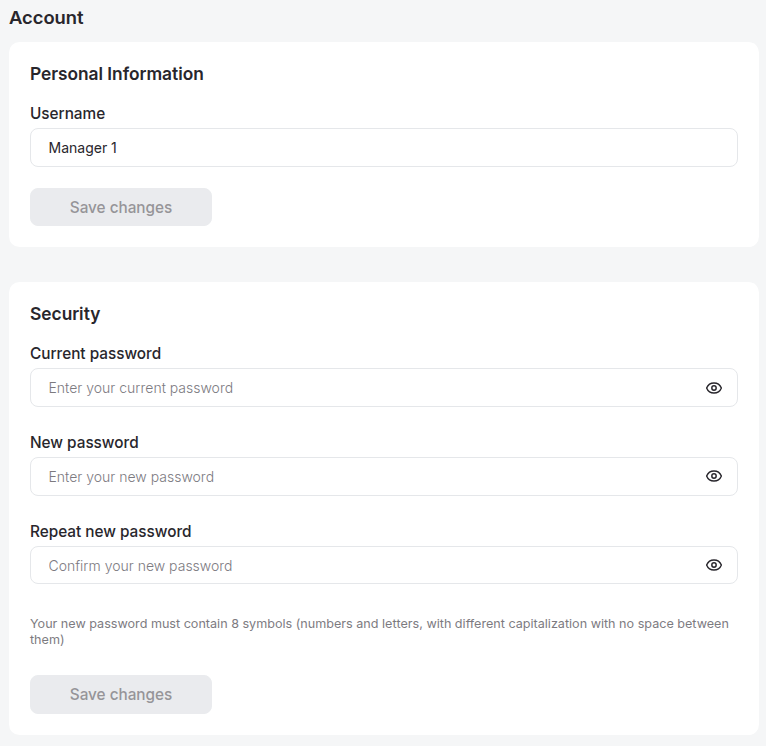
In the “Personal Information” section, you can update your username in the system.
To do this, click the input field labeled “Username” with the left mouse button and begin typing.
After entering the desired name, click the “Save changes” button.
In the “Security” section, you can update your user password.
Click the input field with the left mouse button and begin typing.
In the “Current password” field, enter your existing account password. In the “New password” and “Repeat new password” fields, enter your new password.
Please note that the new password must be at least 8 characters long, including numbers, uppercase and lowercase letters, and must differ from your last three passwords.
After entering the required information, click the “Save changes” button.
Campaigns management
The Campaigns Management page contains the following section:
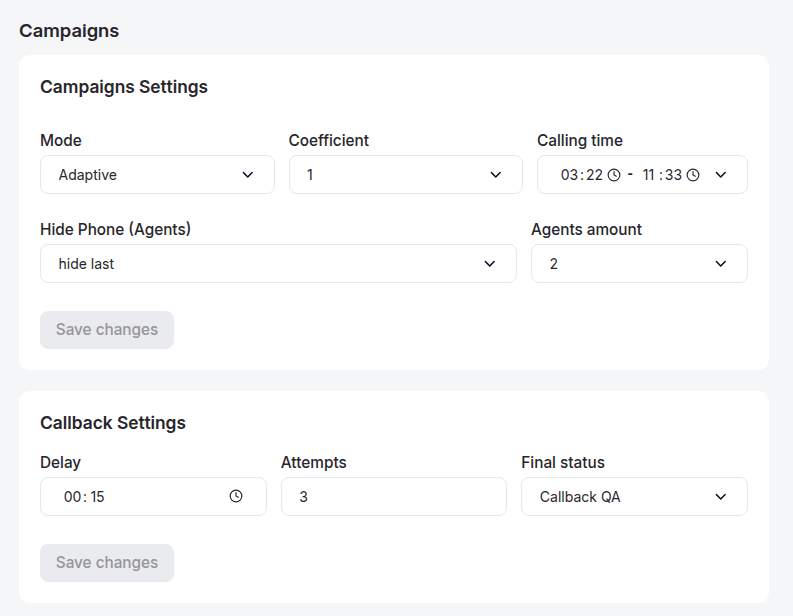
In this section, you can edit the default settings applied when creating a campaign on the Campaigns List page, specifically:
- Campaigns Settings:
a. Mode;
b. Coefficient;
c. Calling Time;
d. Hide Phone (Agents);
e. Agents amount;
- Callback Settings:
a. Delay;
b. Attempts;
c. Final Status.
Additionally, you can modify the “Work Hours” and “Hide Phone (Agents)” settings. To change these, click the respective dropdown menu with the left mouse button and choose the appropriate option from the list.
Currently, the following calling time settings are available:
-
00:00 - 23:59;
-
08:00 - 16:00;
-
09:00 - 17:00;
-
10:00 - 18:00;
-
11:00 - 19:00;
-
12:00 - 20:00.
You can also set your calling time manually. To do this, click on the “Calling Time” field and enter the desired working hours using your keyboard.
The “Hide Phone (Agents)” setting controls the masking of phone numbers for agents during call handling. This parameter is typically configured once during system setup and is not displayed elsewhere. When this option is enabled, either part of the phone number or the entire number will be hidden for agents during calls.
Additionally, after selecting the masking type, an extra field labeled Amount will appear. This field specifies the number of digits in the phone number that will be hidden:

Once you have entered the required parameter values, click the “Save changes” button.
To view the changes after saving, navigate to Campaigns -> Campaign List, then click the “+ Add New Campaign” button.
Leads management
On the Leads Management page, there is a dedicated block containing lead statuses:
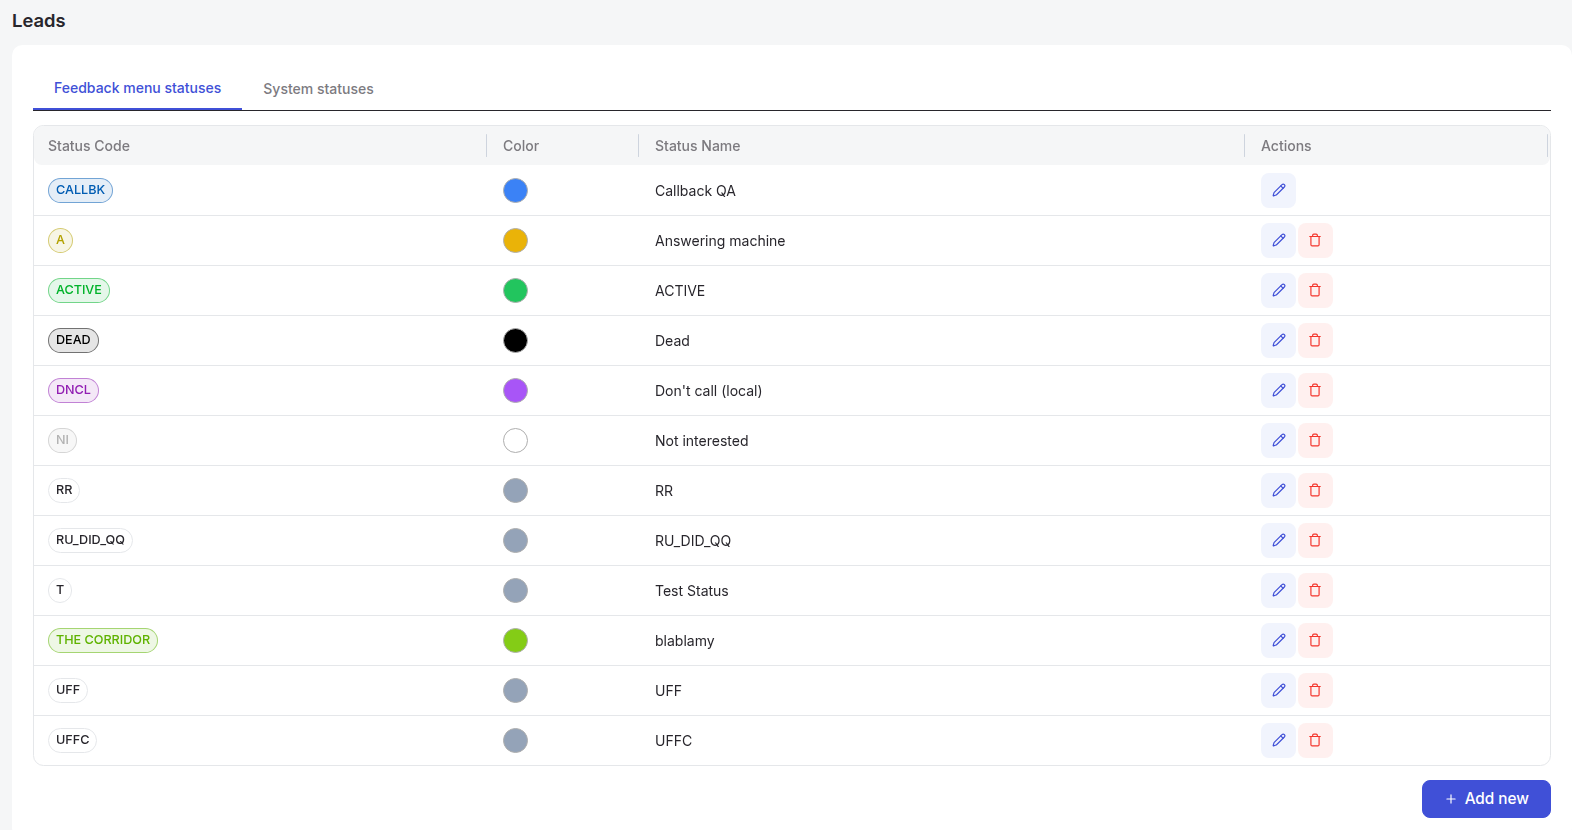
This block includes two tables:
-
Feedback Menu Statuses – this table displays the statuses that an agent can assign after a call.
-
System Statuses – this table displays statuses that are automatically assigned by the system (for example, when the lead does not answer the call).
In the “Feedback Menu Statuses” table, you can review the default lead statuses, add custom (user-defined) lead statuses, or edit existing custom statuses. These statuses are used when an agent sets call feedback after completing a call.
To add a new lead status, click the “+ Add New” button.
After clicking, a blank row will be added to the status list, which you will need to fill in by typing using the keyboard:

Please note that the maximum allowed length for a Status Code is 12 characters, and for a Status Name - 30 characters. Additionally, you can choose the status color.
After entering the required values, click the disk icon to the right of the row to save the changes.
If you decide not to save the parameter, click the “X” icon.
To edit an existing lead status, click the pencil icon located to the right of the row.

After clicking, the fields in the row will become editable.
You will need to modify them by typing using the keyboard:

After editing the required values, click the disk icon to the right of the row to save the changes.
If you decide not to save the changes, click the “X” icon.
To delete custom lead statuses, click the trash bin icon located to the right of the row.
Work Time Management
On the Work Time Management page, there is a block that contains the available pause types:
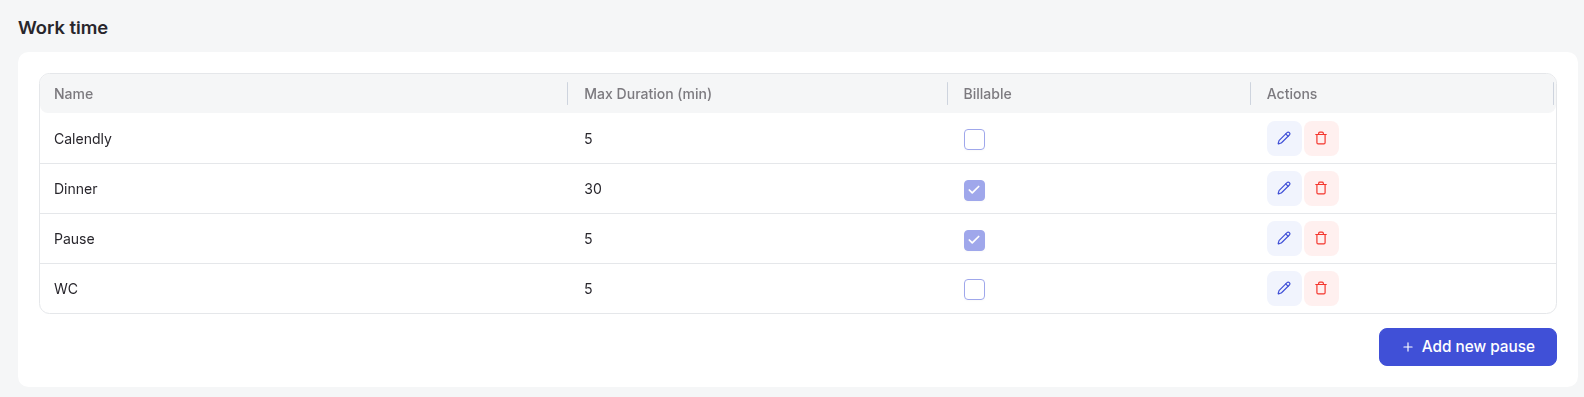
To add a new type of work pause for agents, click the + Add New button.
After clicking it, an empty row will be added to the list of pause types, which you need to fill in by entering the required information using the keyboard:

In addition to entering the name and the maximum allowed time for staying in this status (in minutes), you must select the Billable checkbox if you want the time spent in this pause to be considered paid.
If this option is not selected, the agent will automatically be switched to Offline when choosing this pause status.
You can edit and delete previously created work pauses at any time.
