Agents
This document describes the Agents section in the Teliqon Autodialer Software system. It explains how to view, create, edit, block, and delete agents. It also covers agent groups and explains how agents can be organized without duplicates.
General Information
In the Agents section, you can view information about the agents of your project in Teliqon Autodialer Software:
The section consists of two pages:
-
Agent List;
-
Agent Groups.
An agent is a member of your project team who handles and processes calls.
In this section, you can view information about existing agents, edit or delete them, add new agents to the system, and organize agents into groups.
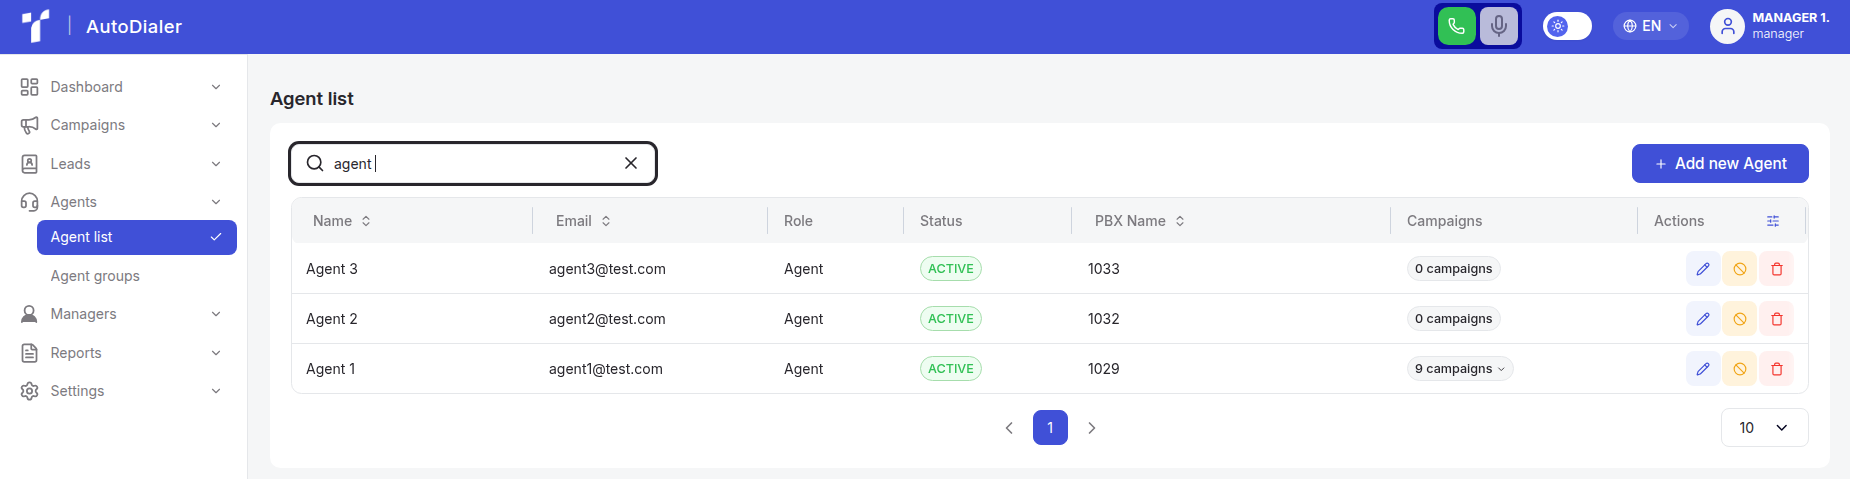
Agent list
On the Agent List page, there are the following sections:

- Toolbar, which consists of:
a. Search bar. Using this page search, you can quickly find the agent you need by their name or email address. To start searching, simply enter more than one character in the search field, and the system will automatically begin the search. The search is case-sensitive, so for accurate results, make sure to use the correct uppercase and lowercase letters.
b. Button to add agents (+ Add new Agent).
To add an agent, you need to click this button. After clicking, a window for creating a new agent will open:
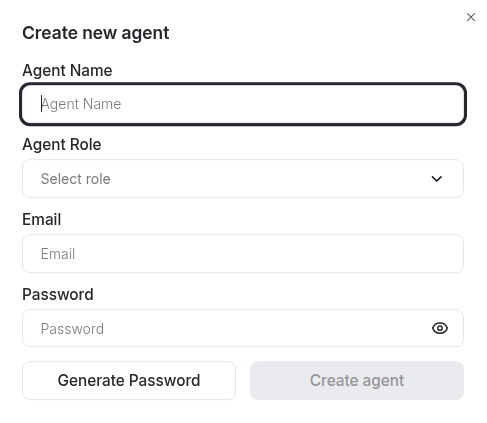
In the window that opens, you need to enter the agent’s name, their role in the system (Agent by default), email address, and password. You can generate a password by yourself or automatically by clicking on a “Generate Password” button. The password will be sent to the specified email automatically.
- Agent table, which consists of the following columns:
a. Agent name - displays the name of the agent registered in the system.
b. Email - contains the email address associated with the agent’s account.
c. Role - the user’s role in the project. It can be custom or default.
d. PBX name - shows the identifier of the internal PBX extension assigned to the agent.
e. Creation date - indicates the date when the agent’s account was created in the system.
f. Campaigns - lists the campaigns to which the agent is currently assigned.
g. Actions:
i. Edit - a button that allows modifying the agent’s account details.
ii. Block - a button that temporarily disables the agent’s access without deleting the account.
iii. Delete - a button that permanently removes the agent’s account from the system.
Next to some column names in the agent list table, there are two arrows.

Clicking on the arrow will sort the data in the column in ascending order. To sort in descending order, you need to click the arrow again.
You can also customize table columns individually. To do this, click the “Settings” icon:

In the window that opens, you can adjust column width, hide specific fields from the list, and change their order.
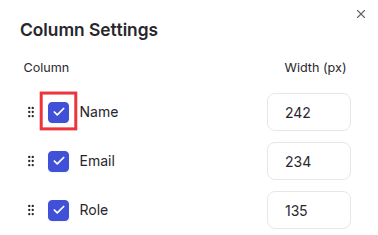
To change the order, hover over the dots icon. When the cursor changes to a hand, click and hold the selected column with the left mouse button and drag it to the desired position.
All changes are applied automatically and reflected in the interface instantly. If you want to restore the default column settings, click the “Reset to Default” button.
Viewing agent campaigns
Clicking the “Campaigns” button in the agent's row:

A tooltip will appear, allowing you to see which campaigns the agent is currently assigned to:
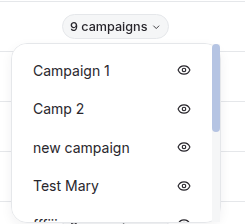
When you click on any campaign in the list, you will be redirected to the campaign details page. This page is described in detail in the “Campaigns” article.
Editing agents
Clicking the “Edit” icon in the agent's row will open the following window:
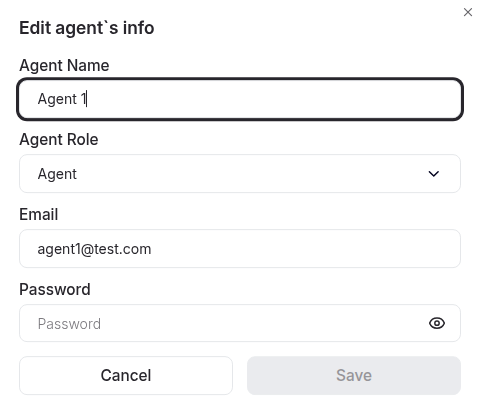
In this window, you can edit the agent's information.
The following fields will require you to enter data using the keyboard:
-
Agent Name;
-
Role;
-
Email;
-
Password.
After making the necessary changes, you need to click “Save”.
If you change your mind about the changes, click “Cancel” or the “X” in the top-right corner of the screen.
Blocking agents
When you click the Block icon in an agent’s row, the icon will change to an Unblock symbol, and the status will change to “Blocked”.

A blocked agent will be automatically logged out of the system and will not be able to log in again.
To allow the agent to log in again, click the green Unblock icon in the Blocking column - this will remove the restriction.

Deleting agents
Clicking the “Delete” icon in the agent's row will open the following window:
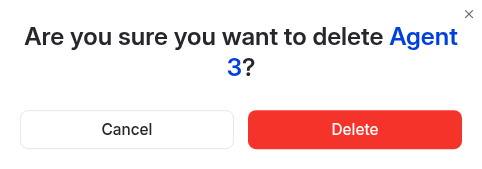
To delete the record, you need to click “Delete”.
To cancel the deletion, click “Cancel”.
Agent groups
On the Agent Groups page, the following interface elements are available:
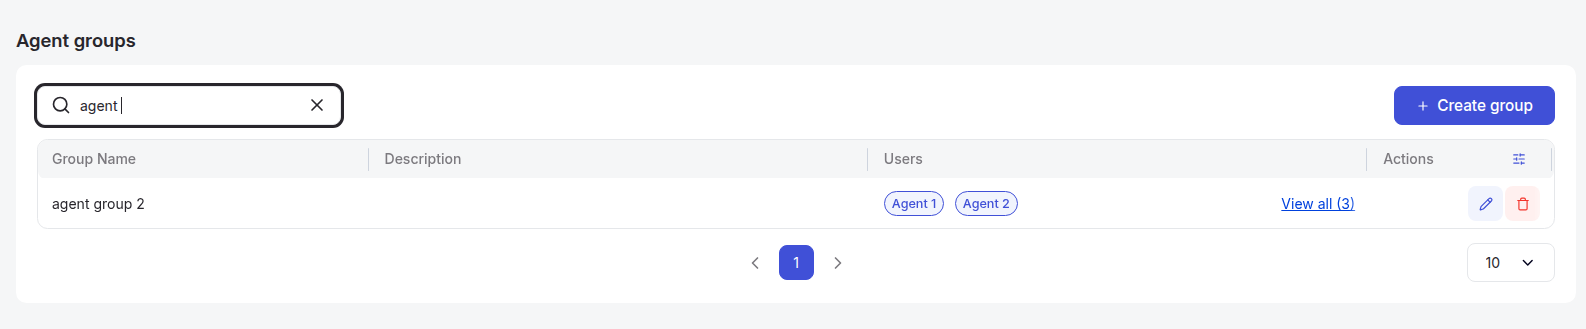
- Toolbar, which includes:
a. Search bar. Using the page search, you can quickly find the agent group you need by its name. To start searching, simply enter more than one character in the search field, and the system will automatically begin the search. The search is case-sensitive, so for accurate results, make sure to use the correct uppercase and lowercase letters.
b. Create Group button (+ Create group).
Click this button to add a new agent group. After clicking, a group creation window will open:
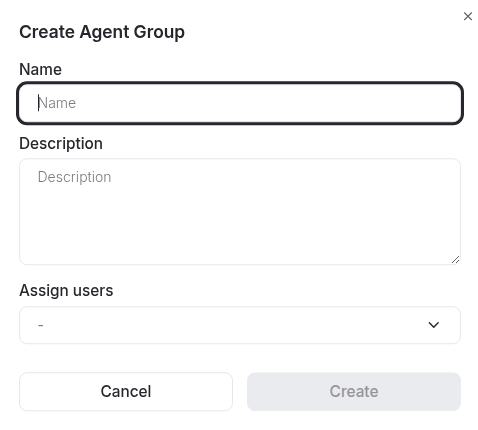
In the window, you have to enter Group Name, Group Description, Select agents who will belong to this group.
- Agent Groups Table, which consists of the following columns:
a. Group Name
b. Description
c. Users
d. Actions:
-
i. Edit
-
ii. Delete
You can also edit or delete an existing agent group by clicking the corresponding buttons.
Delete - removes the group from the system.
Edit - opens a popup window where you can modify the group details:
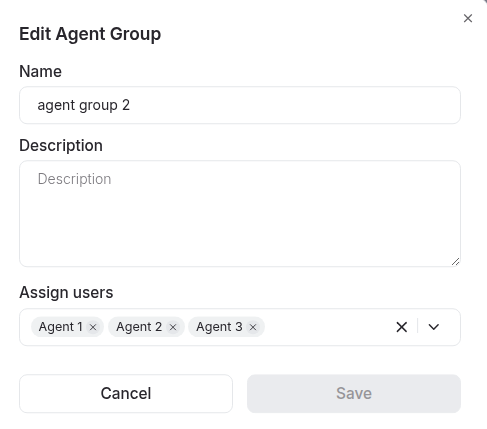
After making changes in the Edit window, click Save to apply them.
An agent can belong to multiple groups.
If the same agent appears in more than one group and all of these groups are added to a campaign, the system will automatically remove duplicates.
As a result, the campaign will receive a unified list of unique agents, without duplicates.
Leads
This document describes the Leads section in the Teliqon Autodialer Software system. It explains how to manage leads, lead lists, callbacks, blacklist entries, and import processes.
Managers
This document describes the Managers section in the Teliqon Autodialer Software system. It explains how to view managers assigned to a project, search the managers list, sort table data, and customize table columns.
